Email campaigns
Compose and send branded email campaigns from Marketing > Emails, with live preview, personalization, and a full engagement report after sending.
Who this is for
Hosts and team members who want to email their audience: event attendees, imported contacts, or a saved segment.
Quick steps
- Open Marketing > Emails and click Compose.
- Set your Reply-to address and Sender display name.
- Write a subject line.
- Add recipients: type emails, or import a segment, event attendees, contacts, or a CSV.
- Click Open editor to design the email body.
- Optionally add attachments and send yourself a test.
- Send now or Schedule for later.
- Open the sent campaign to track delivery, opens, clicks, and revenue.
Step-by-step walkthrough
1. Open the Emails dashboard
- Go to host.3common.com.
- In the left navigation, open Marketing > Emails.
The dashboard lists every campaign with its status chip: Draft (not sent), Scheduled (queued for a future time), or Sent. Columns include recipients, send date, open rate, click rate, and revenue generated. Clicking a sent campaign opens its report; clicking a draft reopens the composer.
2. Start composing
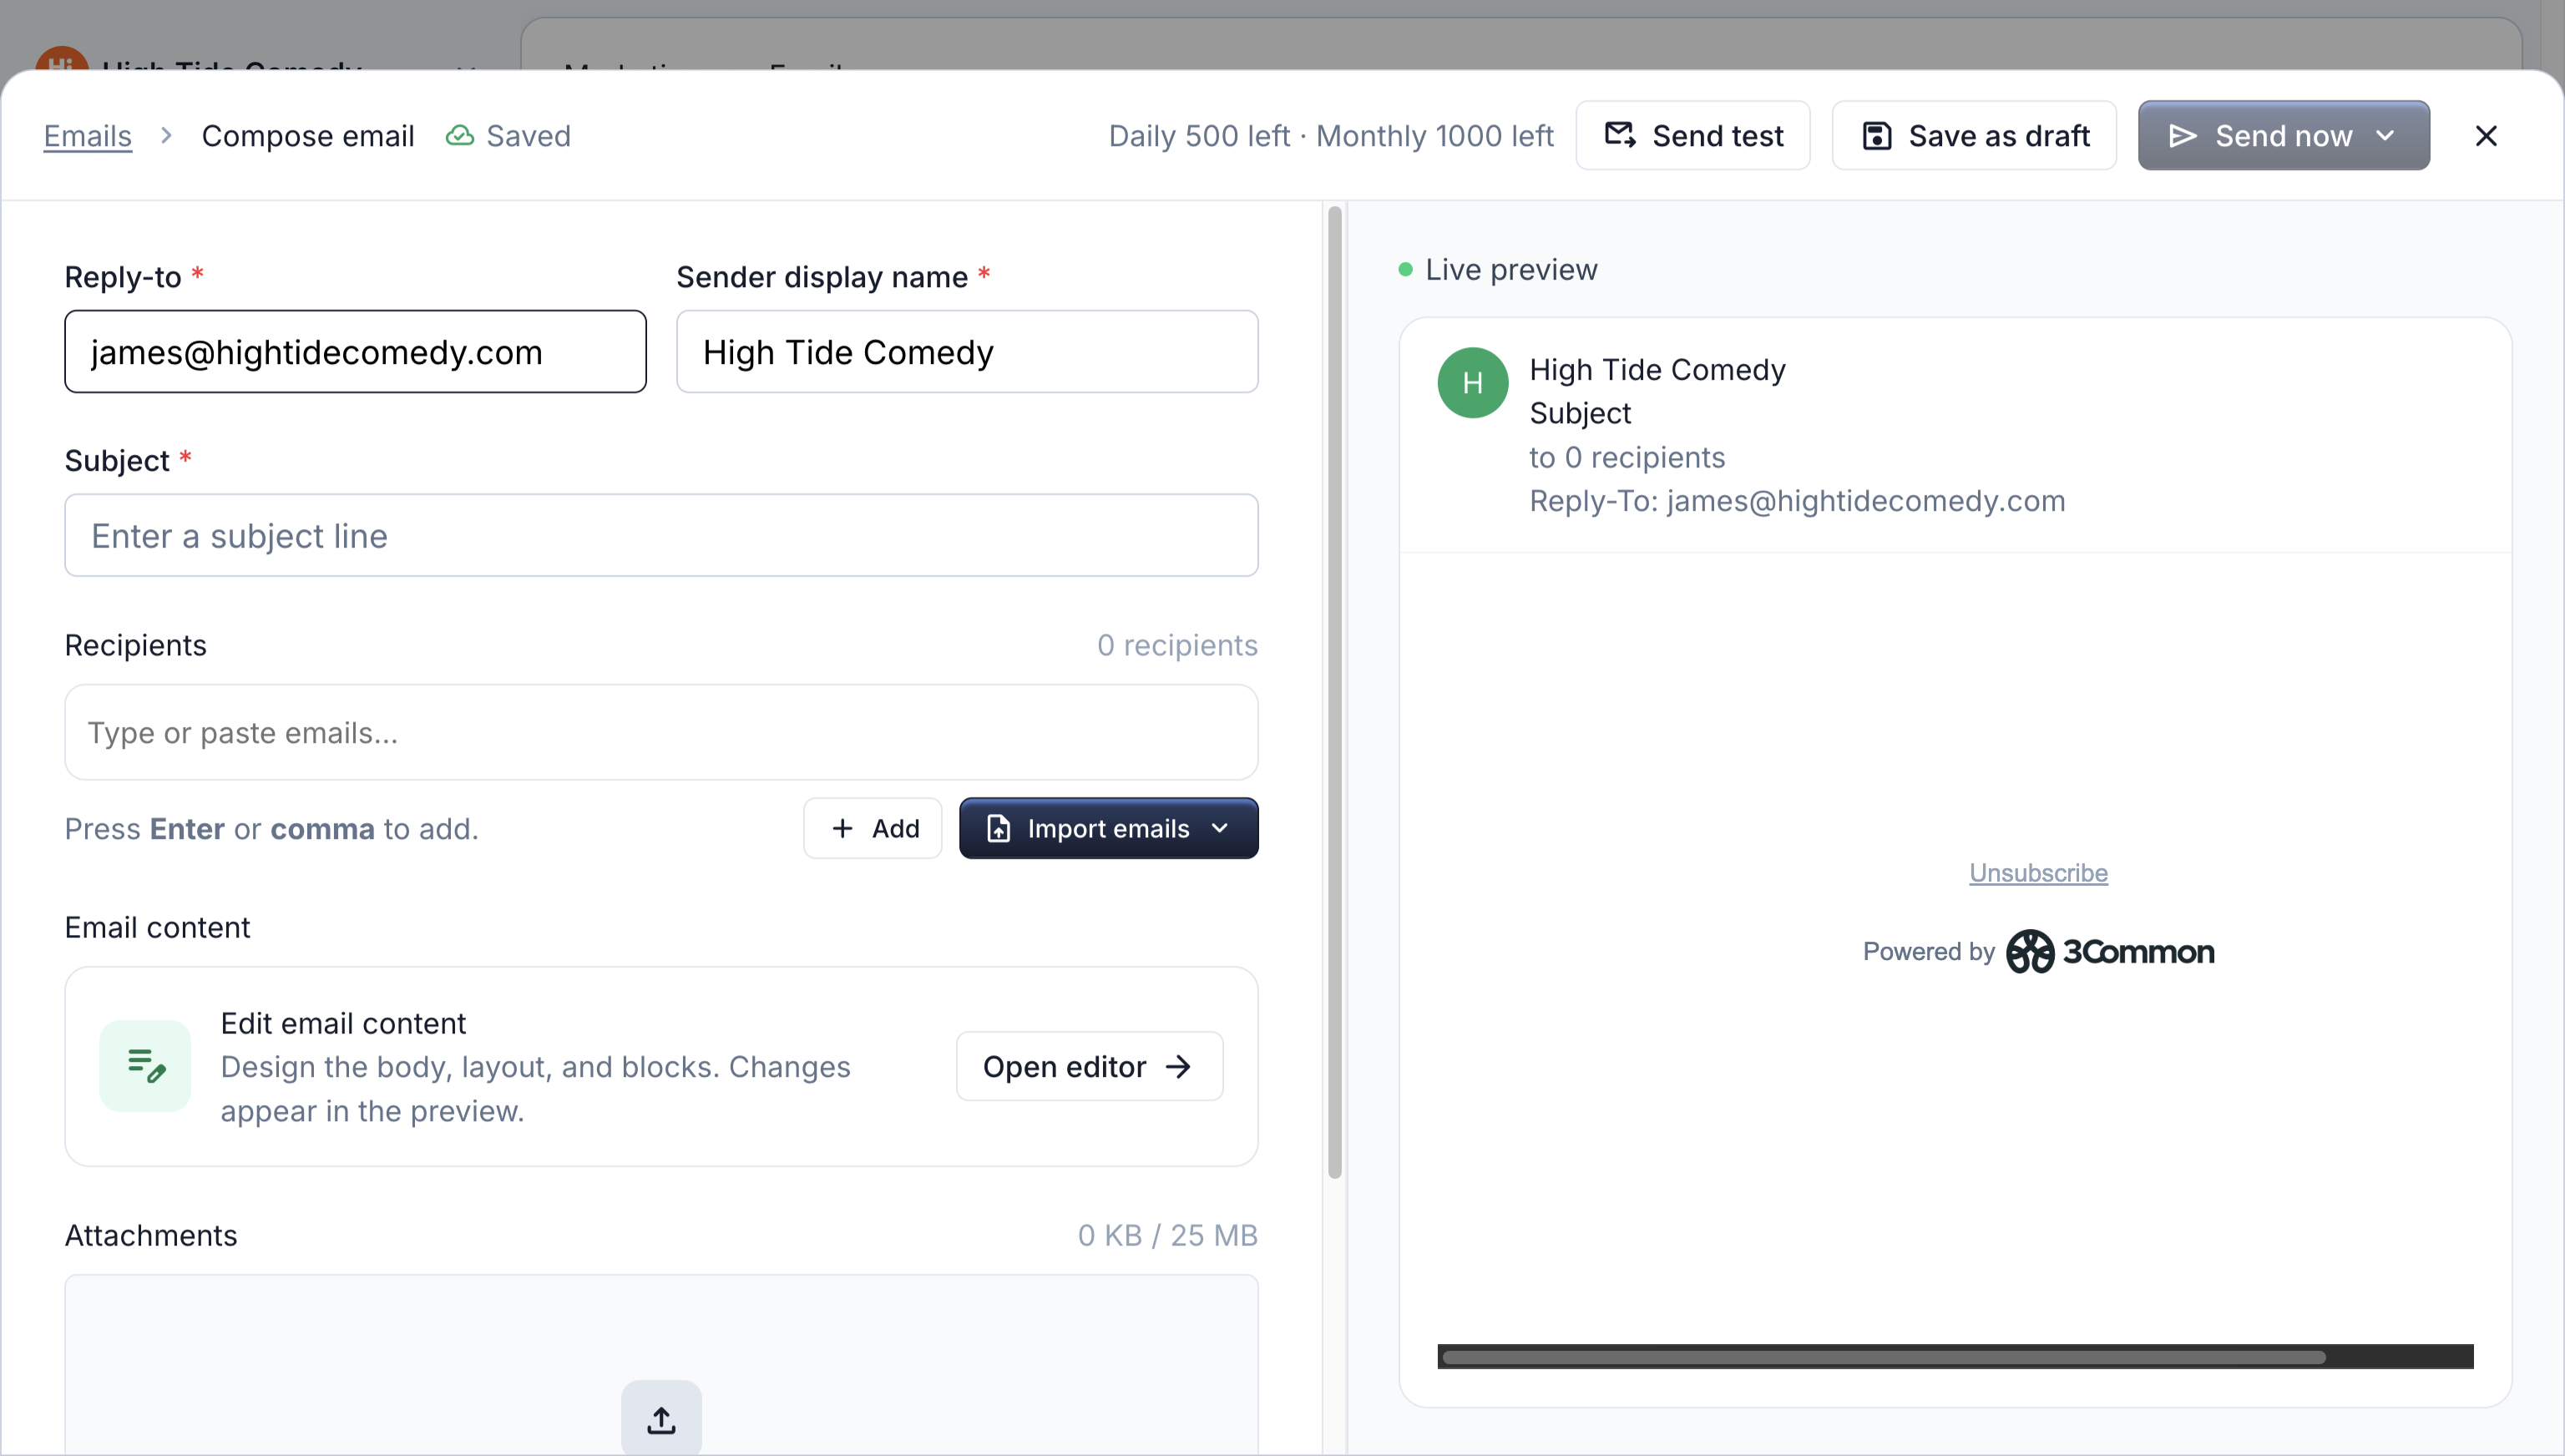
Click Compose. The composer opens as a drawer with the form on the left and a live preview on the right. Everything auto-saves as you work (watch for the Saved indicator), so you can close the drawer and pick the draft up later.
3. Set the sender fields
- Reply-to: where replies land. Defaults to your account email.
- Sender display name: the name recipients see in their inbox. Defaults to your company name.
Campaigns are delivered from 3Common's sending address with your display name on the From line, so there's no domain setup. Replies always go to your reply-to address.
4. Write your subject line
In the Subject field, enter a clear subject, for example: Heads up! We are offering a code for a free t-shirt.
5. Add recipients
Mix and match in the Recipients field:
- Type or paste emails: press Enter or comma to add each one. Pasted lists are split automatically.
- Import emails offers four sources:
- Segment: send to a saved contact segment. Members resolve when the email sends. See Use segments in emails.
- Event attendees: pick an event (or a single date of a multi-day event) to add its attendees as a synced group.
- Contacts: pick individual CRM contacts.
- CSV file: upload a list of addresses (2 MB max).
When an event group is present, the Keep recipient list in sync with event toggle controls freshness: on, attendees are refreshed when the email is sent; off, the list is frozen when you schedule or send.
6. Design the email content
- In the Email content card, click Open editor.
- Build the body in the block editor: add sections, then place elements (text, images, buttons, dividers, tables, and social links) and arrange them however you like.
- Type
{{to insert smart values like the recipient's first name. See CRM data in campaigns.
Links to your event pages are tracked automatically, so ticket sales from the campaign show up as revenue in the report.
7. Attachments, preview, and test sends
- Attachments: add files up to 25 MB total.
- The Live preview shows the email as an inbox would render it, with sample data filled into any smart values.
- Click Send test to email a copy to yourself (the subject is prefixed with
Test:) before committing.
8. Send or schedule
The send button offers two options:
- Send now: delivers immediately after you confirm.
- Schedule for later: pick a date and time (in your local timezone), then click Schedule send.
A confirmation dialog shows the recipient count before anything goes out. If you scheduled, the campaign shows as Scheduled on the dashboard; open it to Edit or Cancel send (canceling moves it back to your drafts).
Send limits and unsubscribes
Your plan includes daily and monthly send limits, shown at the top of the composer. Every campaign automatically includes an unsubscribe footer, and contacts who unsubscribed are excluded from future sends. You never need to add an unsubscribe link yourself.
9. Review campaign performance
Open a sent campaign to see its report:
- Stat cards: Delivered, Opens, Clicks, and Unsubscribed, with rates.
- Performance chart: engagement by day, including bounces, complaints, and orders.
- Activities table: every per-recipient event (Delivered, Opened, Clicked, Bounced, Unsubscribed, Purchased) with search and export.
- Revenue generated: ticket purchases attributed to links in this campaign.
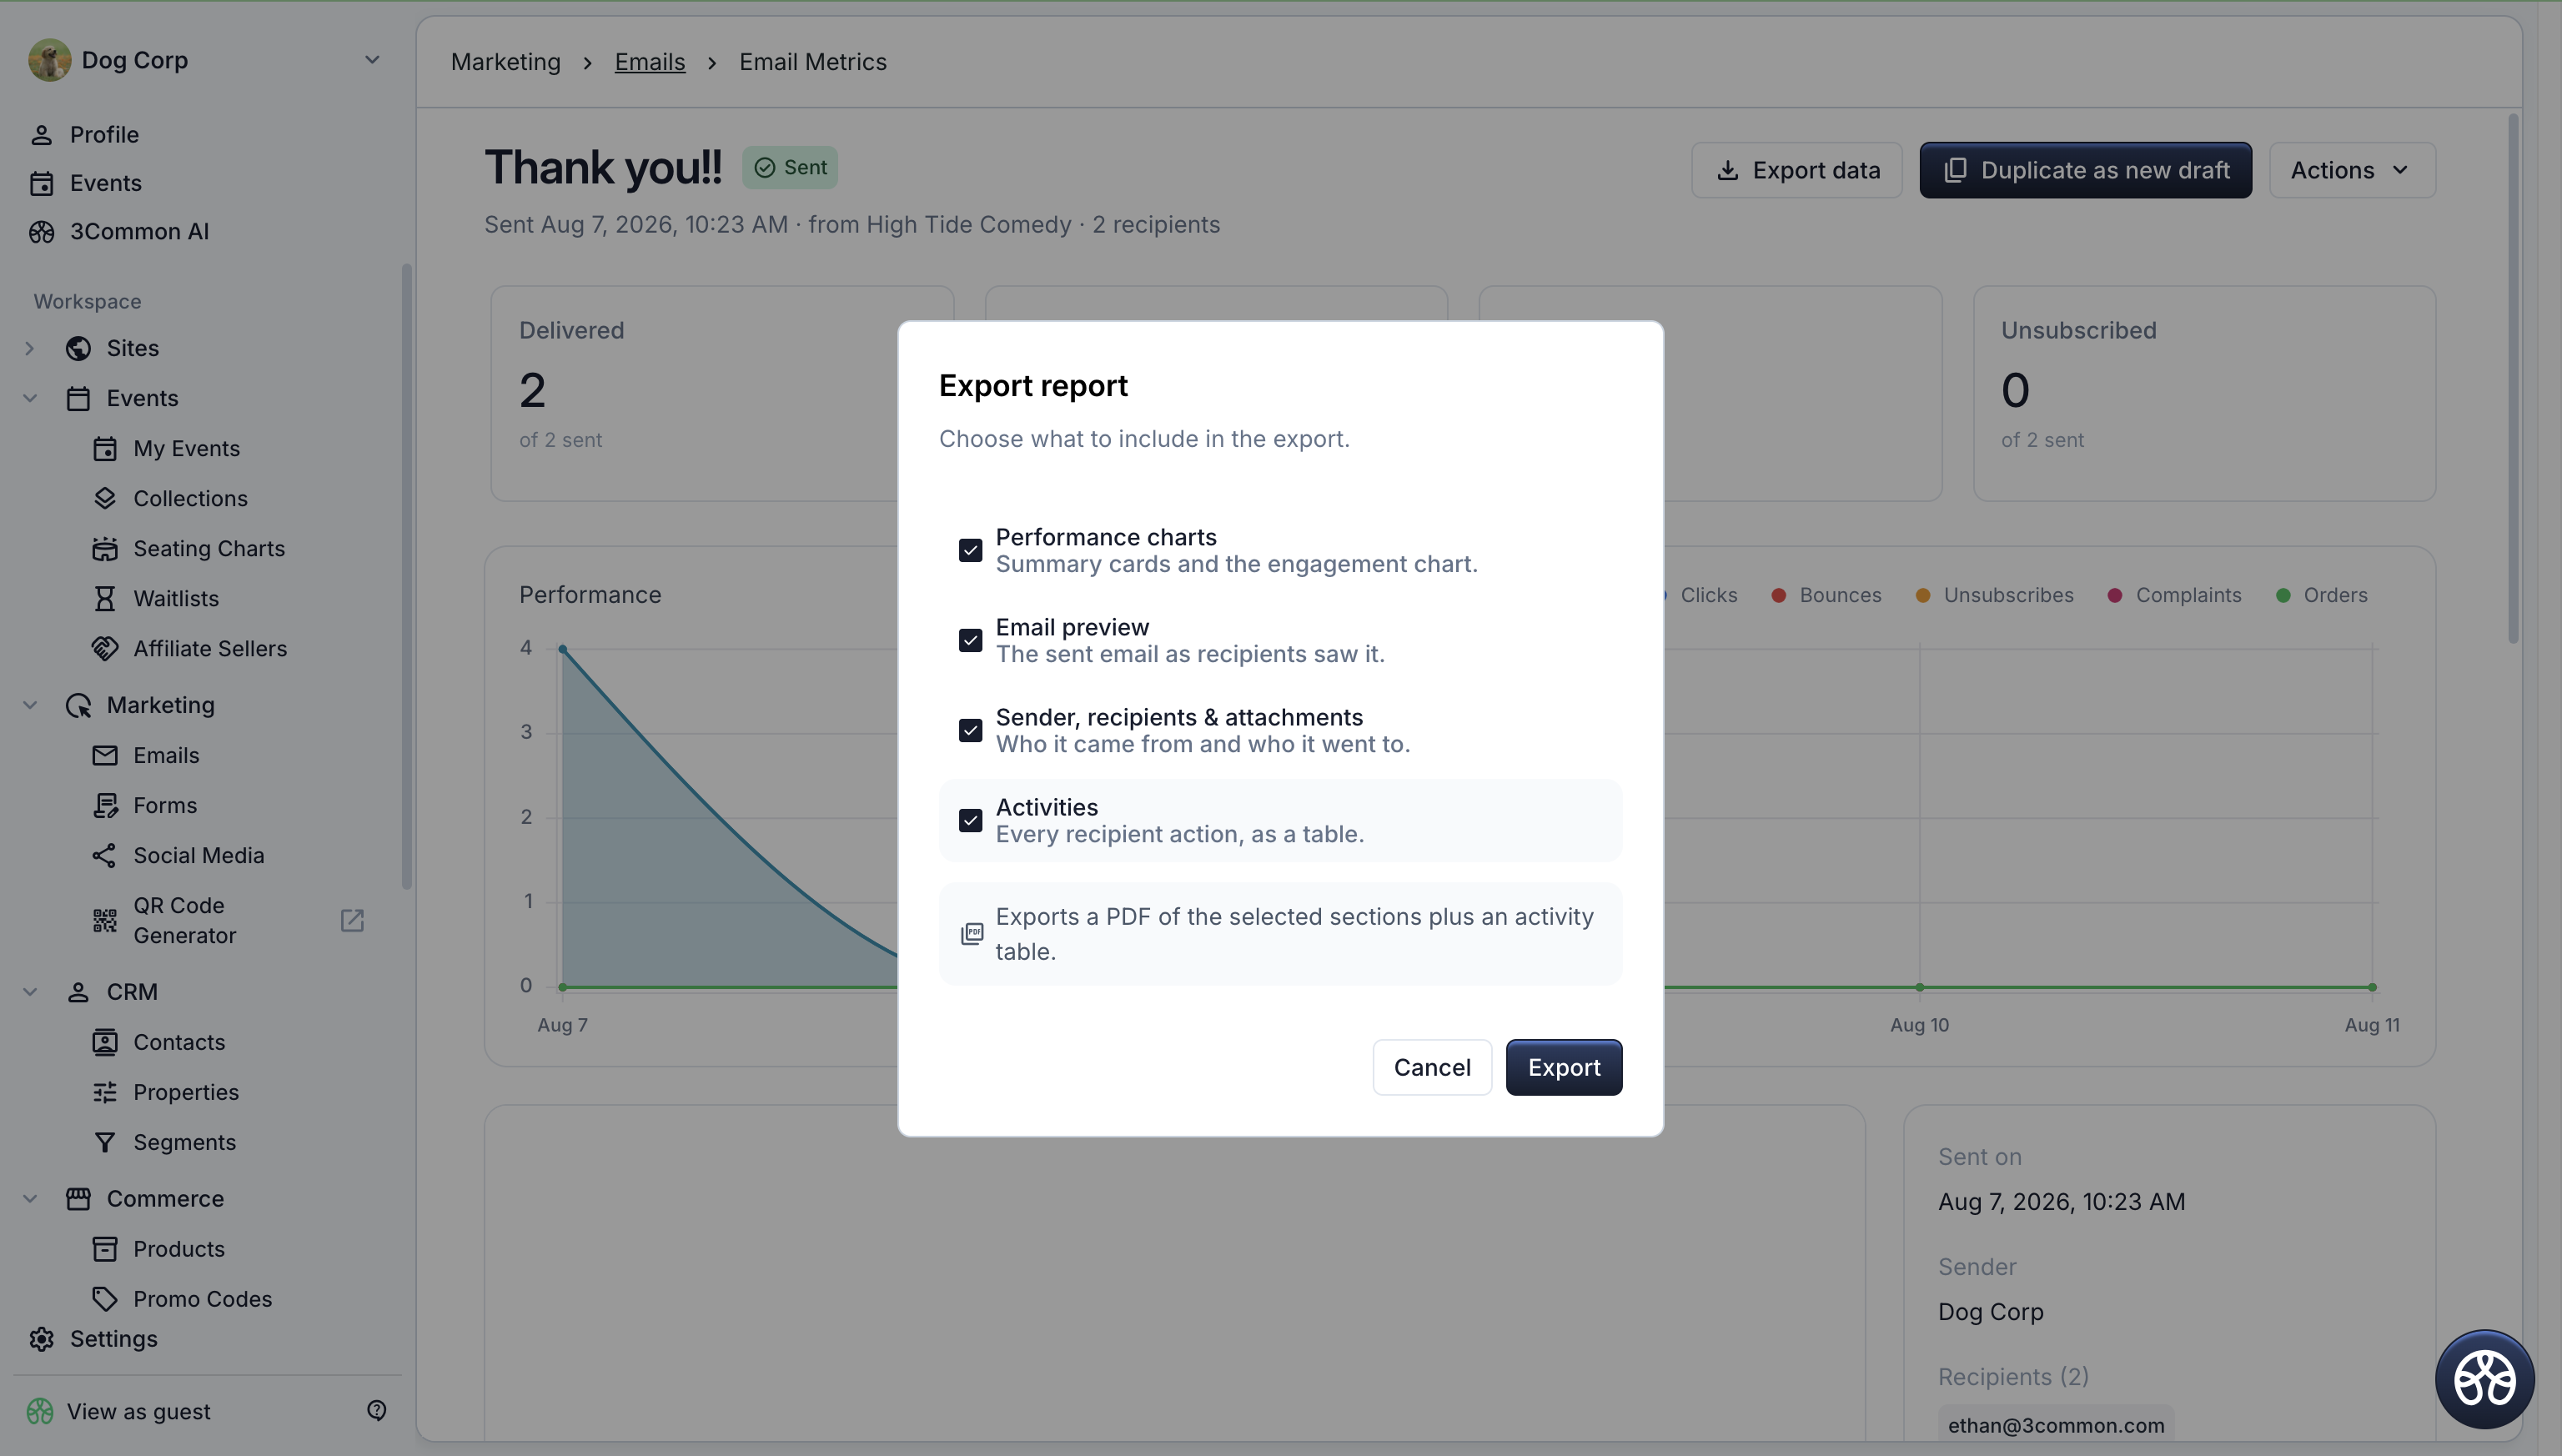
Use Export data to download the report as a PDF, or the activity table as CSV. Duplicate as new draft starts your next campaign from this one.
Troubleshooting
The send button is disabled
A campaign needs a subject, a reply-to email, a sender display name, and at least one recipient before it can send. If those are set, check the quota readout: you may have reached your daily or monthly send limit.
I closed the composer and can't find my draft
Drafts save automatically as you work, but they only appear in the dashboard's All and Drafts views. If the Sent or Scheduled view is active, switch views to find the draft, then click it to reopen the composer. One exception: a draft you opened but never edited is discarded when you close it, so there's nothing to find.
My campaign sent to fewer people than expected
Contacts who unsubscribed (or were deleted) are excluded automatically at send time. Segment and synced event audiences also resolve at send time, so the final count can differ from what you saw while composing.
I need to change a scheduled campaign
Open the scheduled campaign and click Edit to reopen the composer, or Cancel send to move it back to drafts. Both are available any time before the scheduled send time.
Open and click numbers look low right after sending
Engagement streams in as recipients open the email. Use Actions > Refresh data on the report to pull the latest numbers.