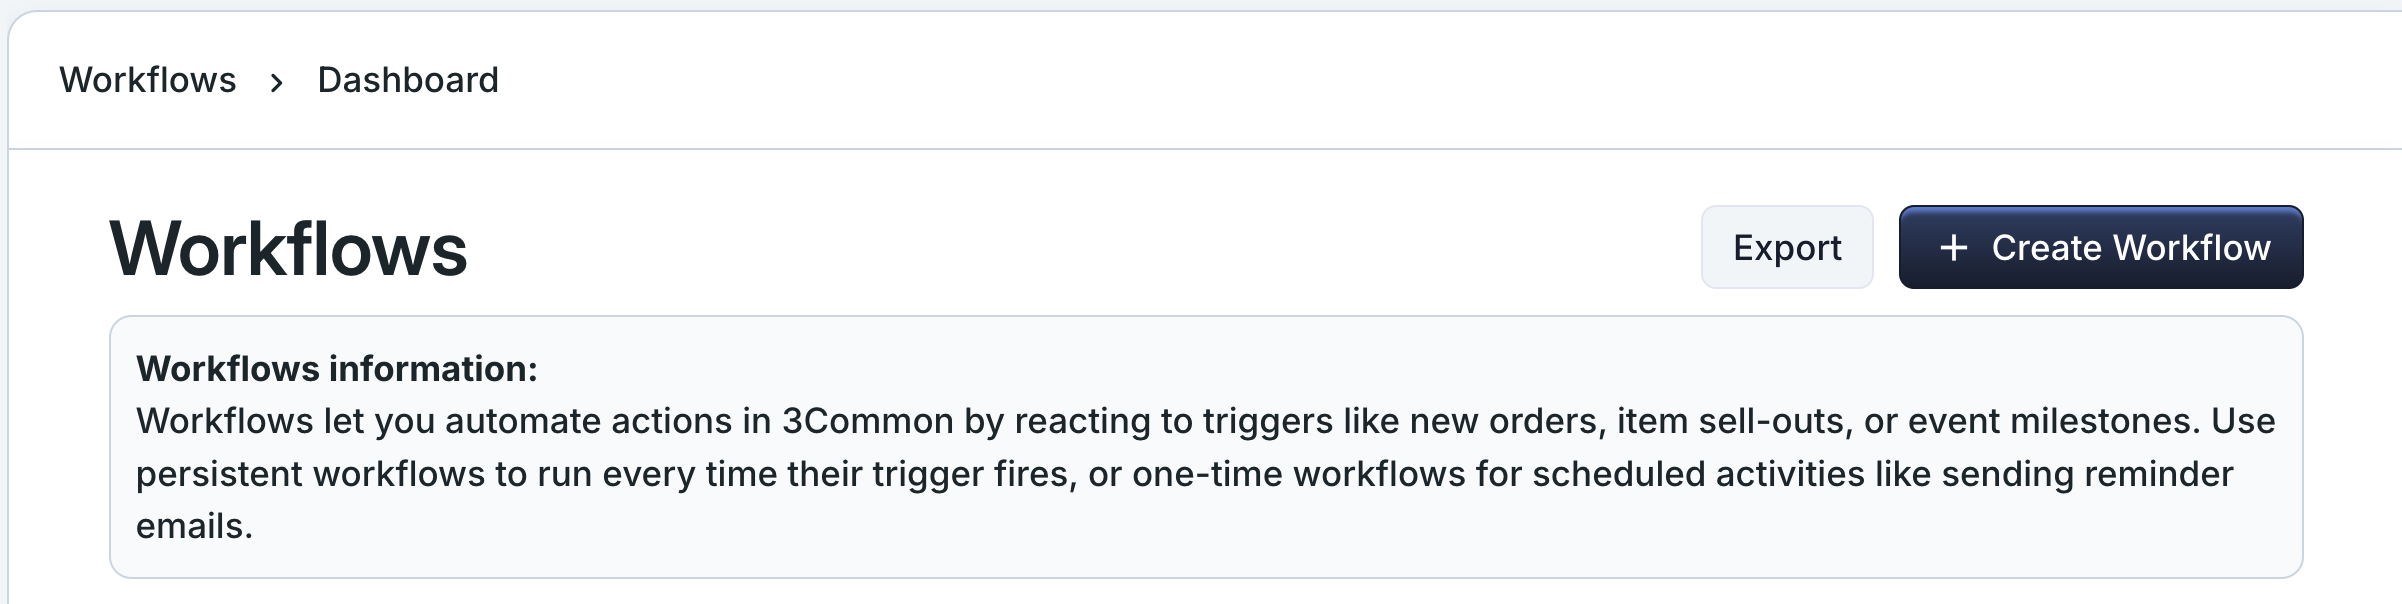
Getting started with workflows
Workflows automate tasks by reacting to events, orders, form submissions, and contact changes. Each workflow has a trigger (when it runs) and one or more actions (what it does).
Who this is for
Hosts and team members who want to automate common tasks like sending emails, updating contact properties, or integrating with external systems.
Quick steps
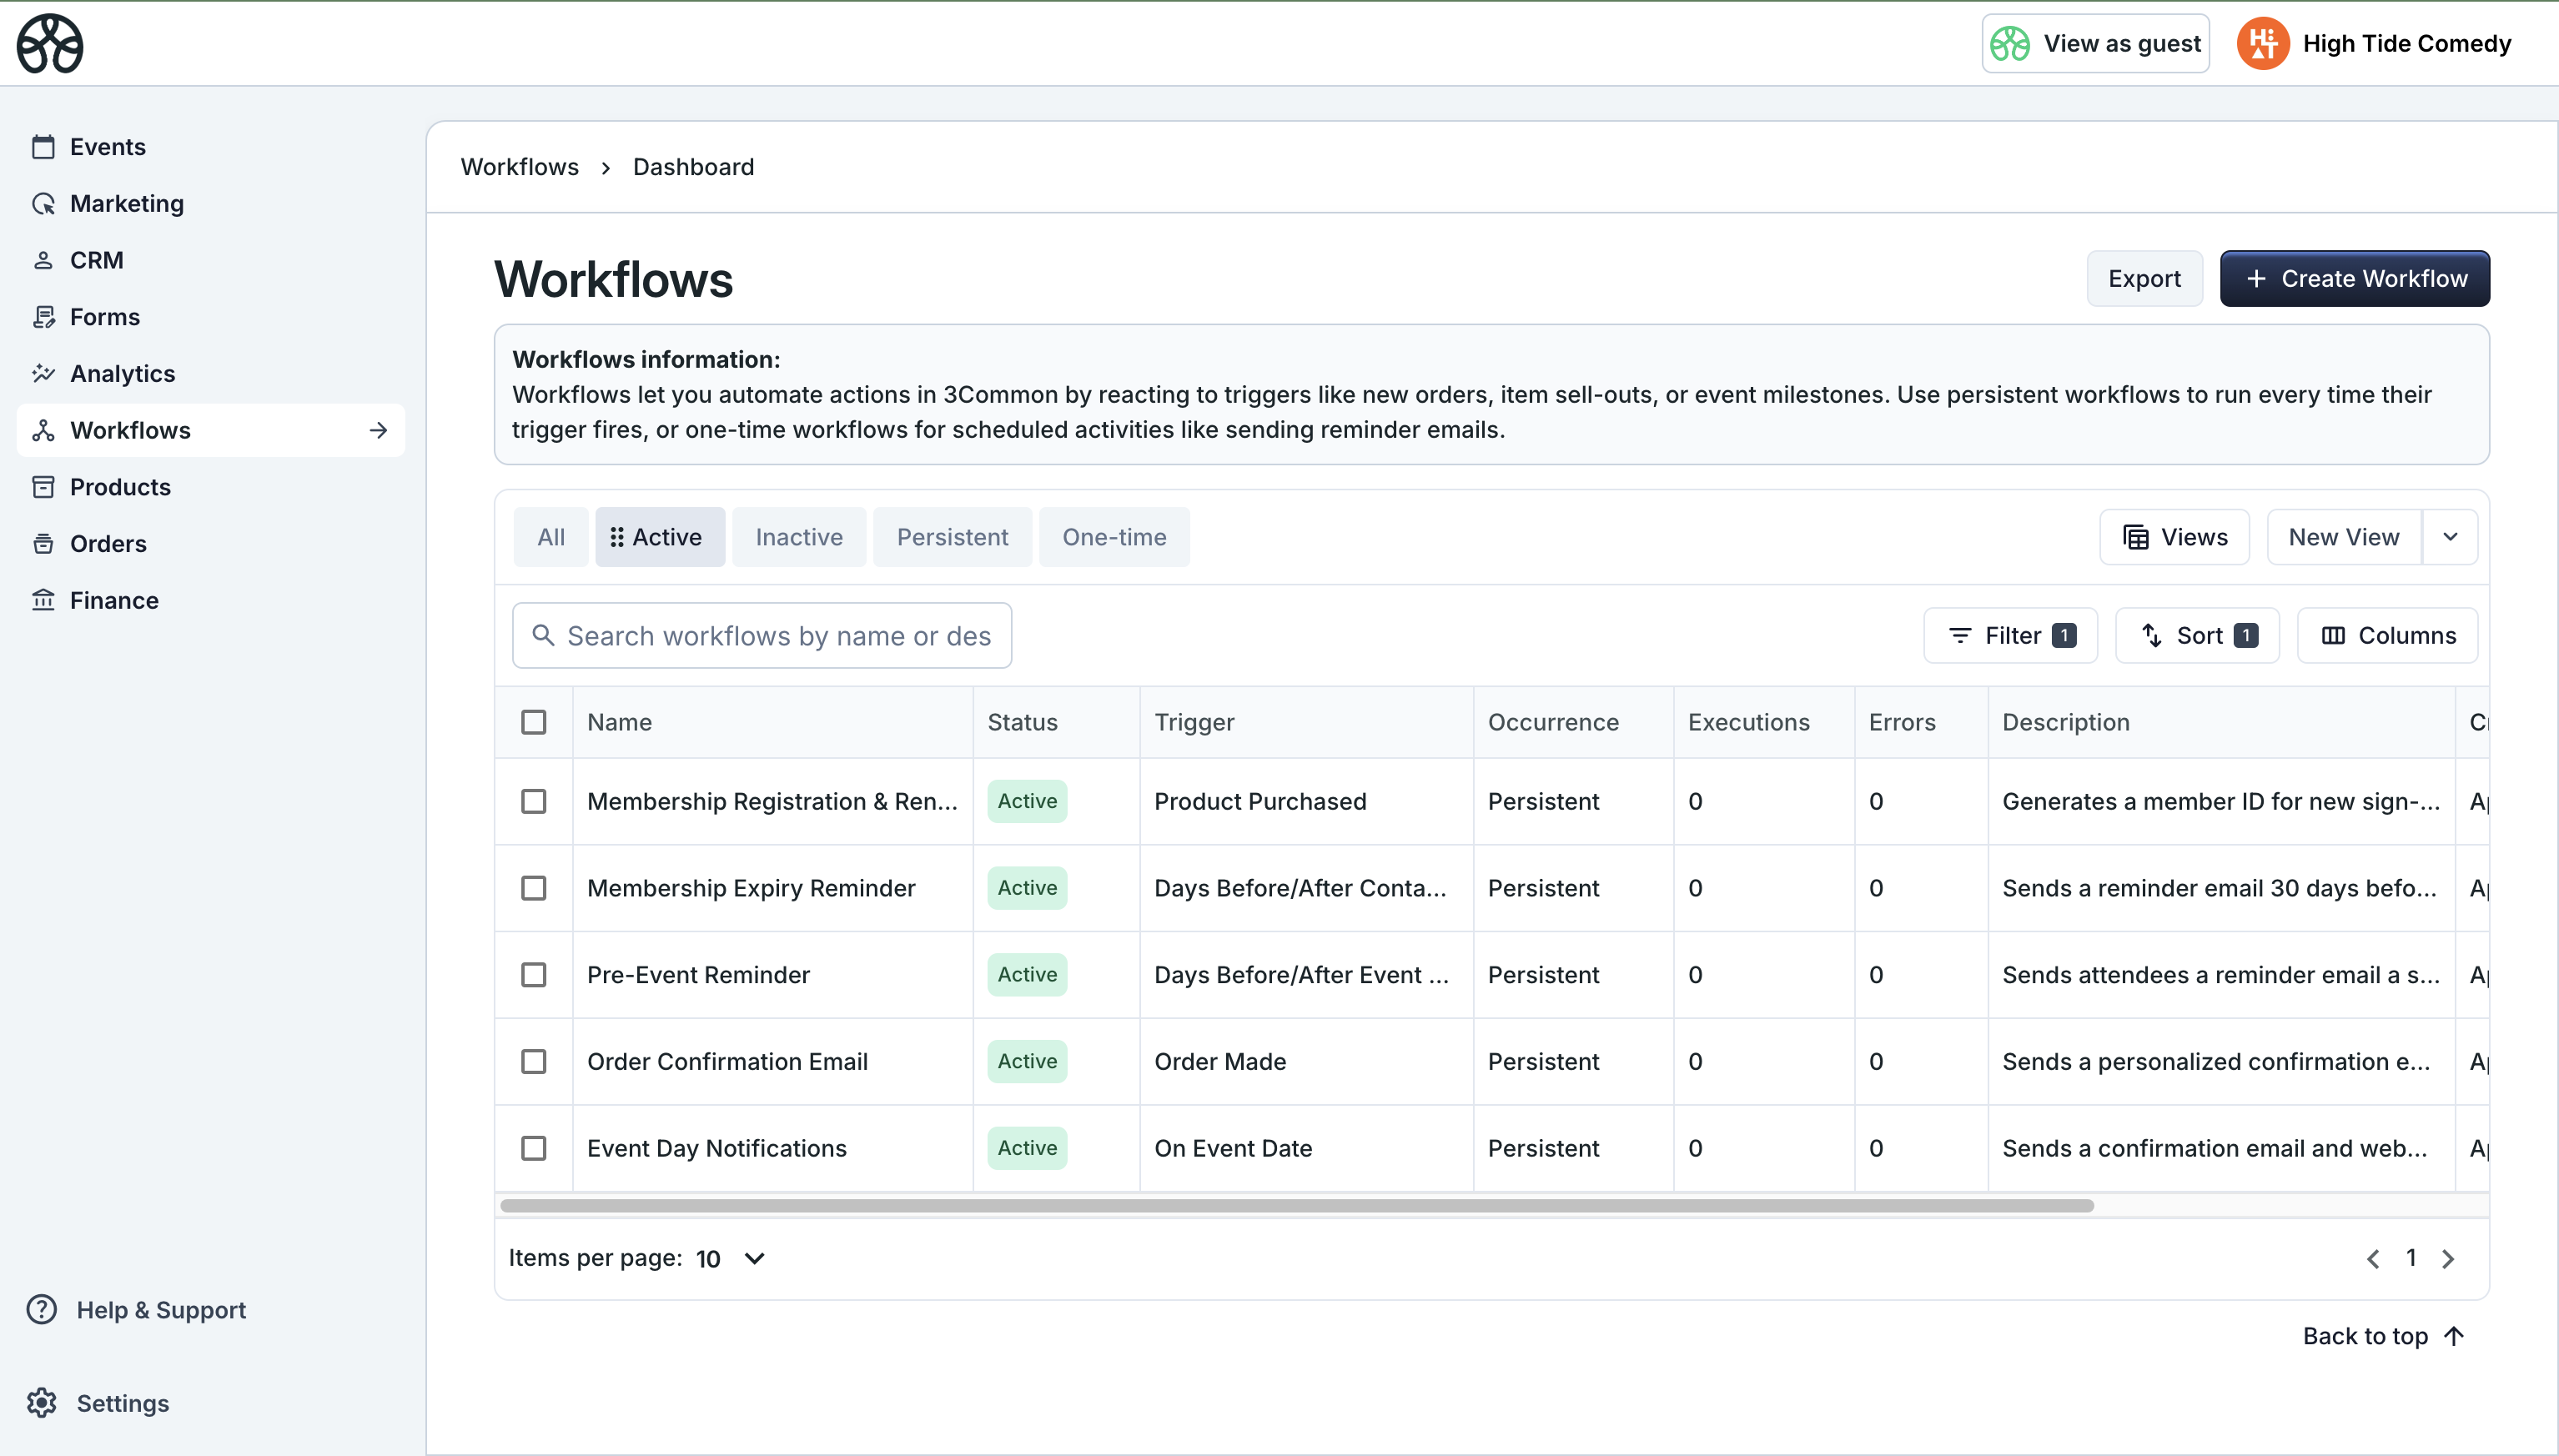
- Go to Dashboard > Workflows.
- Click Create Workflow.
- Give it a clear name and optional description.
- Choose an occurrence type.
- Pick a trigger.
- Add one or more actions.
- Save and activate.
Key concepts
Triggers
A trigger defines when a workflow runs. Examples: when an order is placed, when a contact is created, or on a specific date relative to an event.
Each workflow has exactly one trigger. See the Triggers reference for the full list.
Actions
Actions define what happens when the trigger fires. You can chain multiple actions together — they execute in order, top to bottom.
Available actions include sending emails, setting contact properties, conditional branching (If/Then), and sending webhooks. See the Actions reference for details.
Smart values
Smart values are dynamic placeholders like {{contact.email}} or {{event.name}} that get replaced with real data when the workflow runs. Use them to personalize emails, set property values, or build conditions.
See Smart values for the full guide.
Occurrence types
When creating a workflow, you choose how often it should run:
| Type | Behavior |
|---|---|
| One time | Fires once for each matching trigger, then stops. Good for one-off actions like welcome emails. |
| Persistent | Fires every time the trigger condition is met. Good for ongoing automations like order confirmations. |
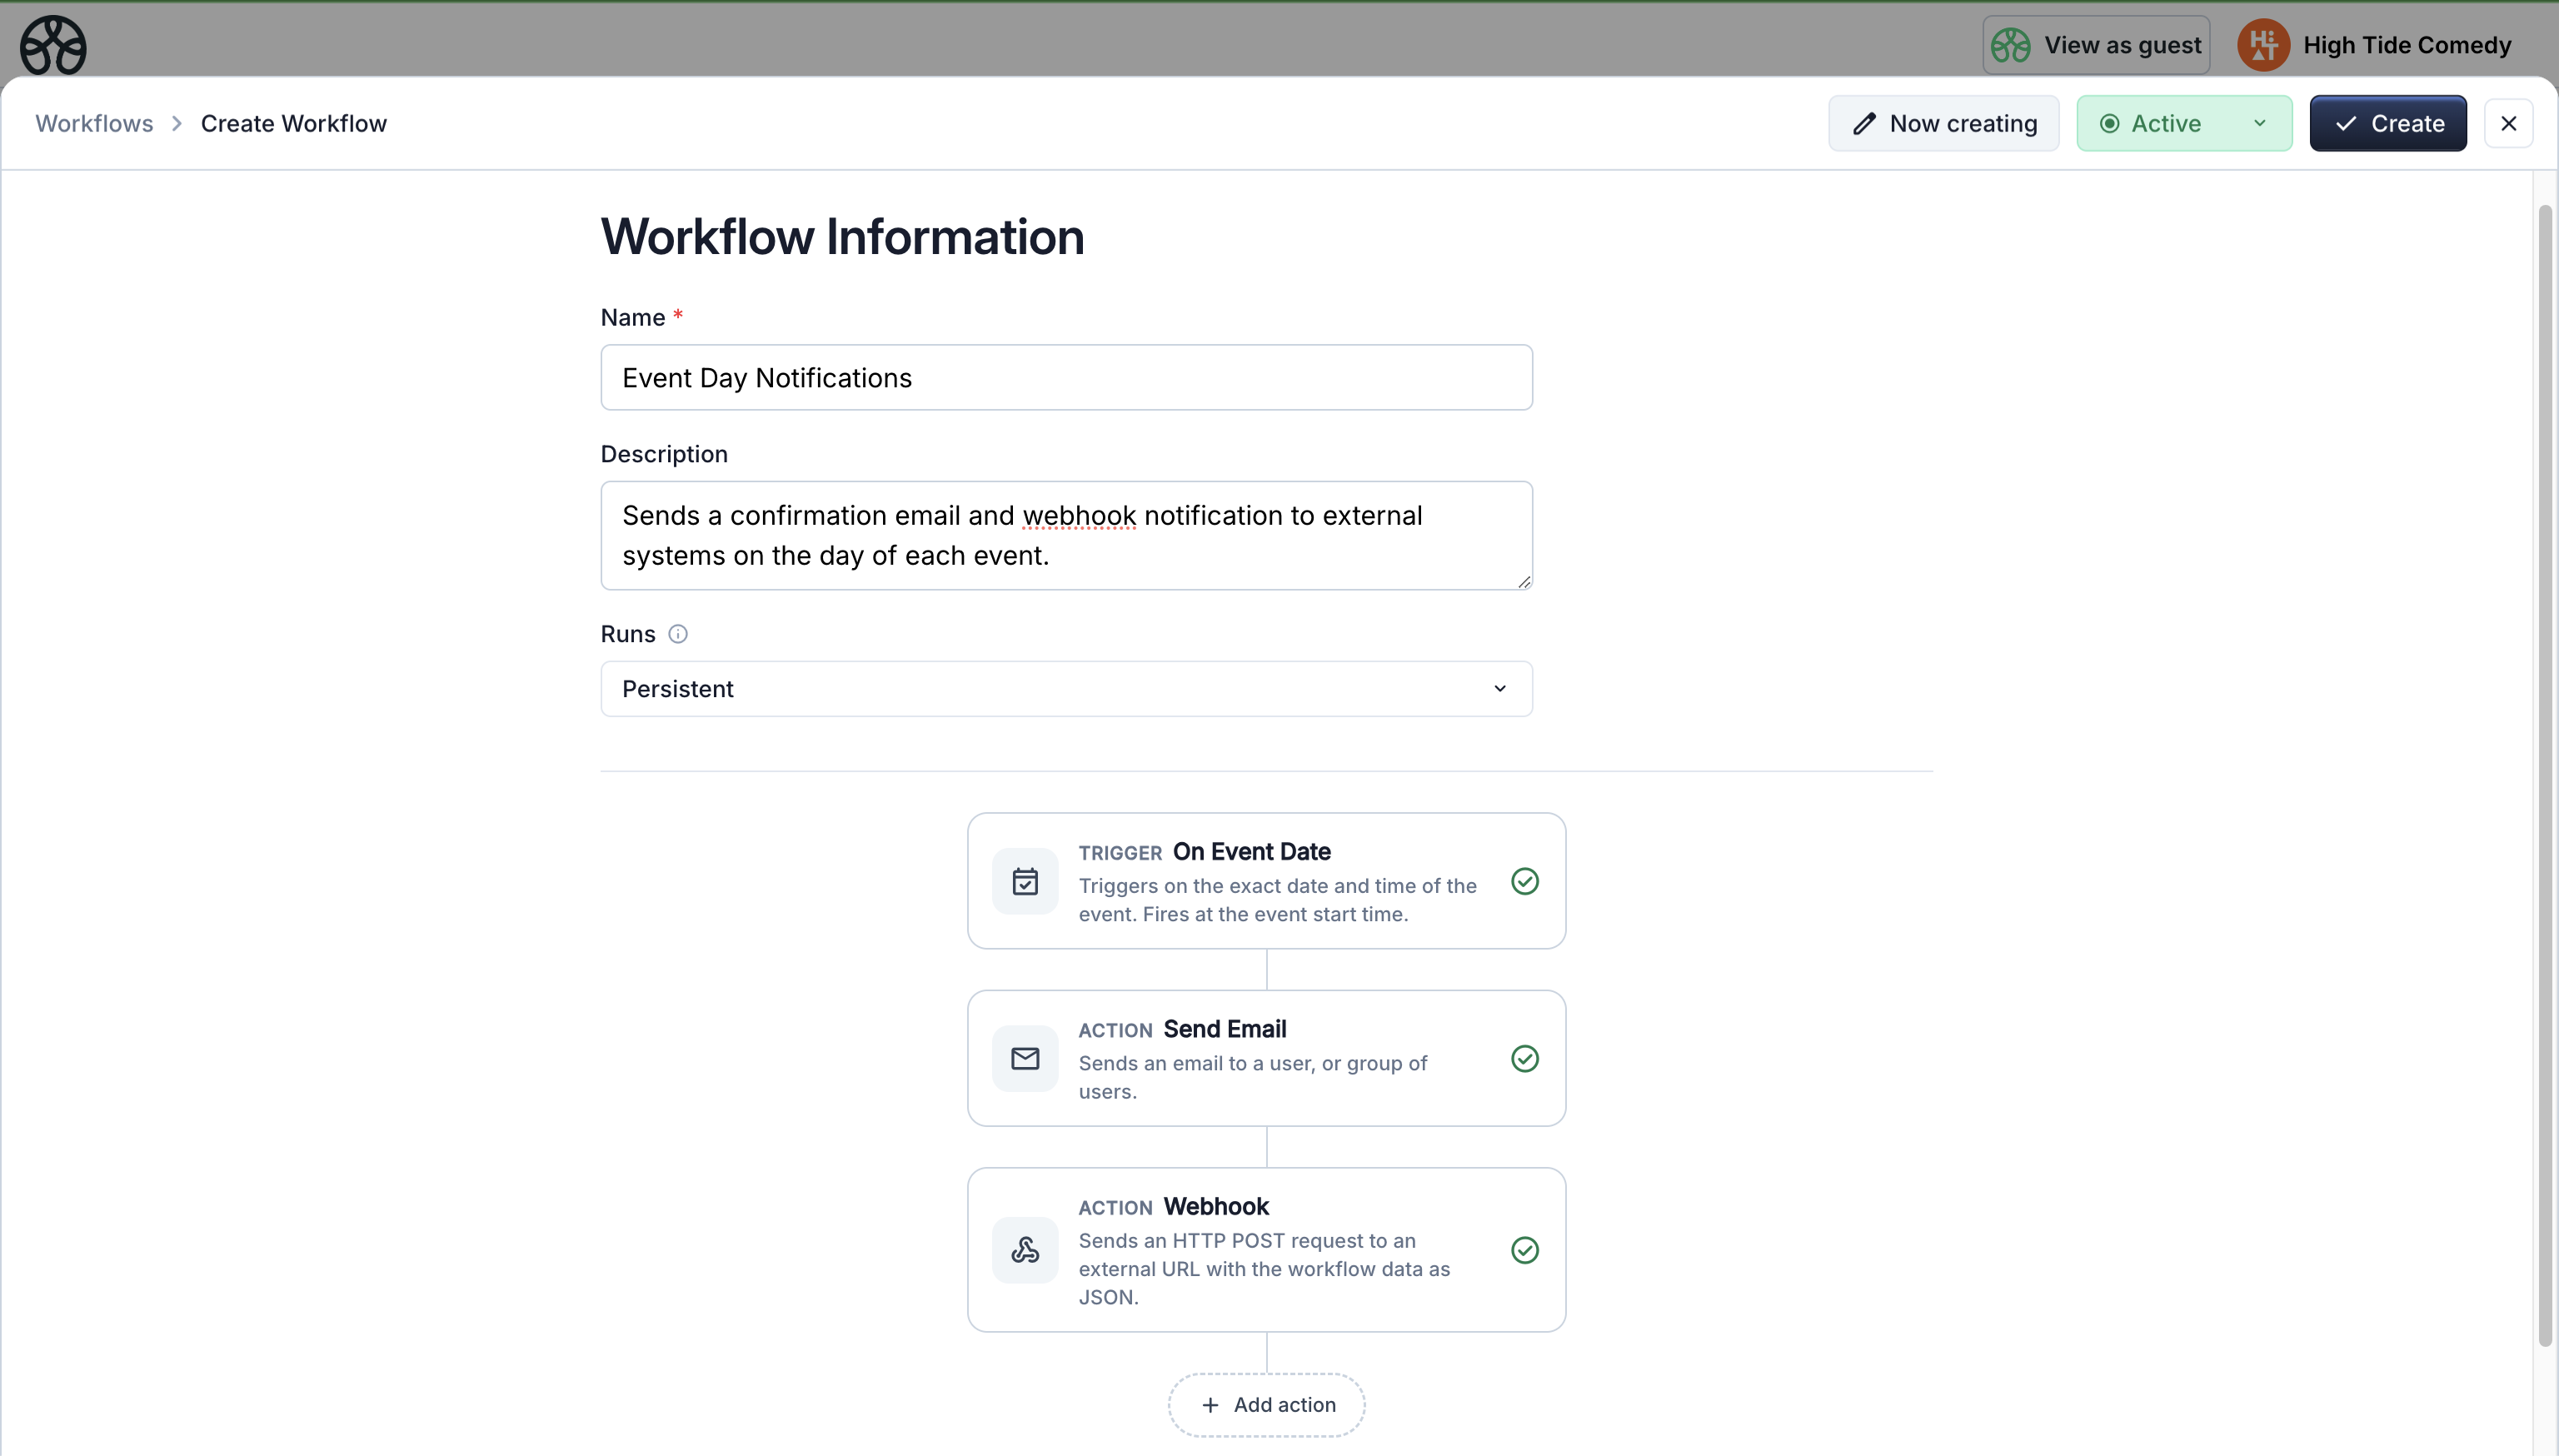
Creating a workflow
1. Open the workflow builder
From your Dashboard, click Workflows in the navigation, then click Create Workflow.
2. Name and describe your workflow
Enter a clear Name (required) and optional Description. These help you and your team identify what the workflow does at a glance.
3. Choose a trigger
Click Choose a trigger to open the trigger picker. Browse by category (Events, Products, Forms, CRM) or search by name.
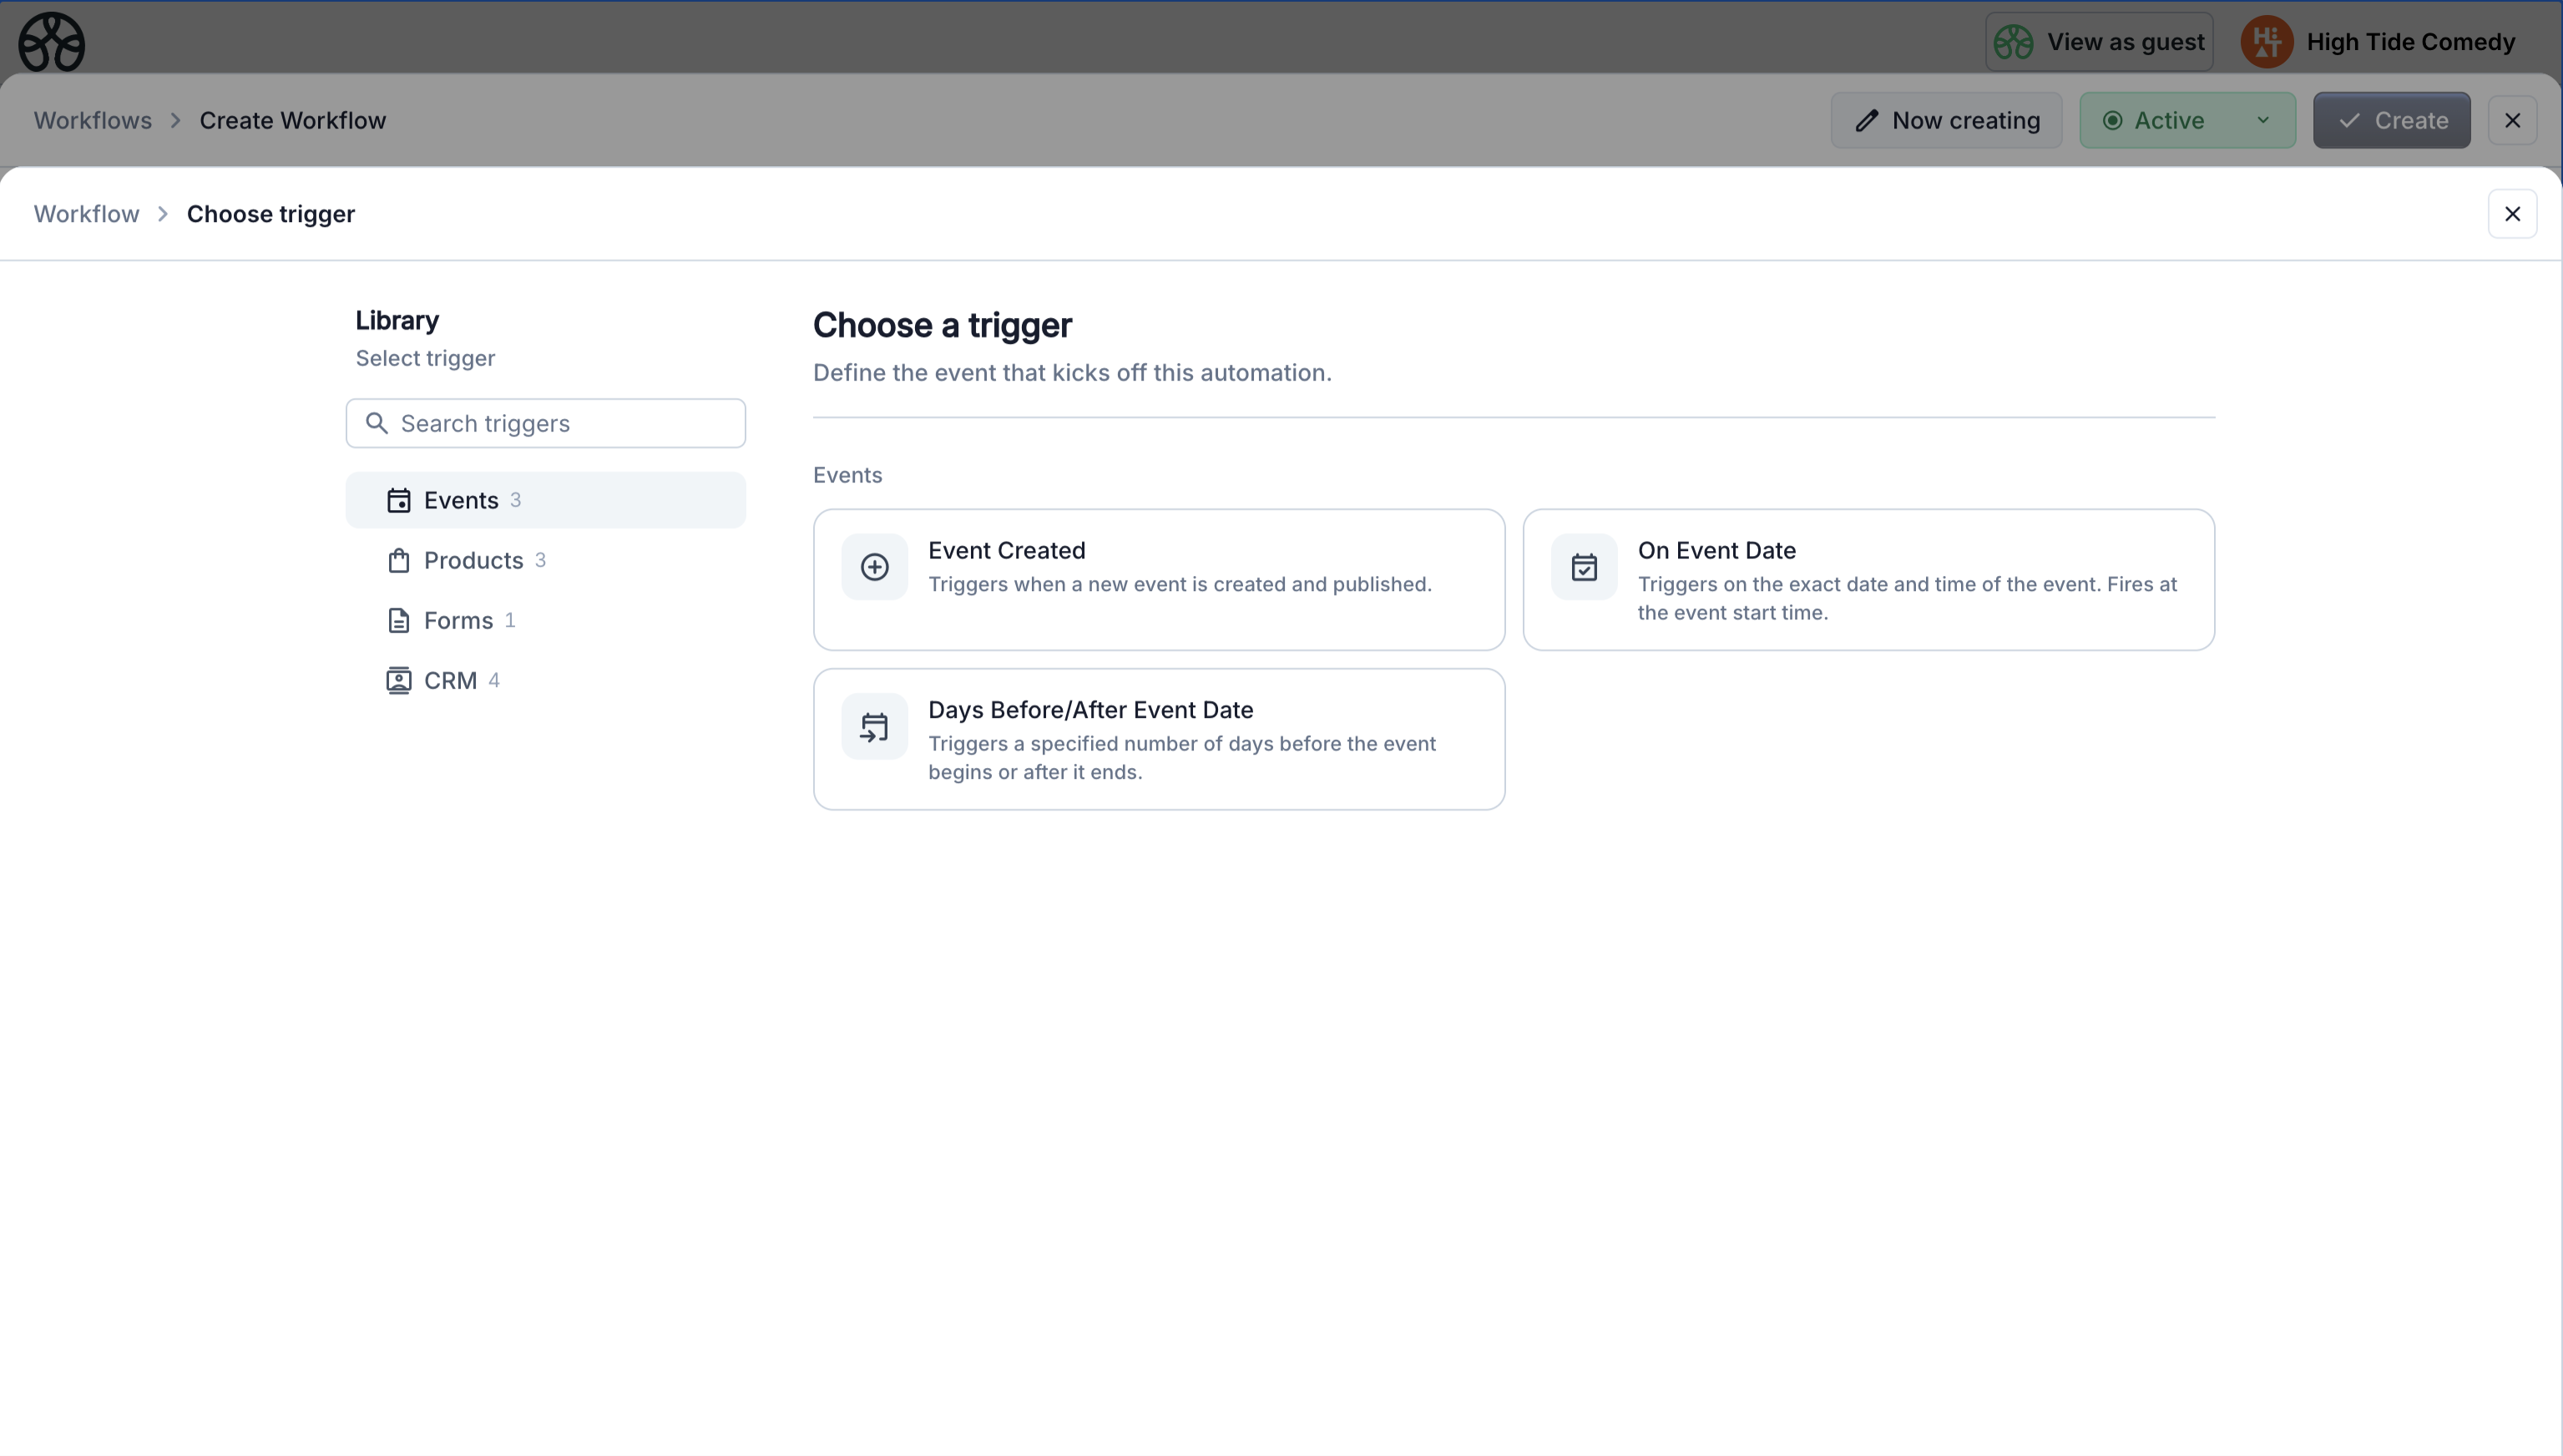
4. Configure the trigger
Each trigger has its own settings. Some triggers let you choose a scope:
- All — fires for any event, form, or product across your account.
- Specific — fires only for a specific event, form, checkout, or product you select.

5. Add actions
Click Add action below the trigger to pick an action. Configure its settings — use smart values to pull in dynamic data.
You can add multiple actions. They execute sequentially — each one runs after the previous one completes.
6. Save and activate
- Inactive — saves your workflow but it won't run.
- Active — your workflow starts running immediately when its trigger fires.
Use the status dropdown in the top rail to toggle between active and inactive.
Inactive workflows do not execute
Draft/inactive workflows will not execute until you switch them to Active.
Editing and managing workflows
- Click any workflow in the dashboard to open its side peek — view execution count, errors, last run date, and the full workflow flow chart.
- Click Edit in the side peek header to open the builder.
- You can edit workflows while they are active — changes take effect on the next trigger firing.
- Delete actions by clicking the X button on a node card.
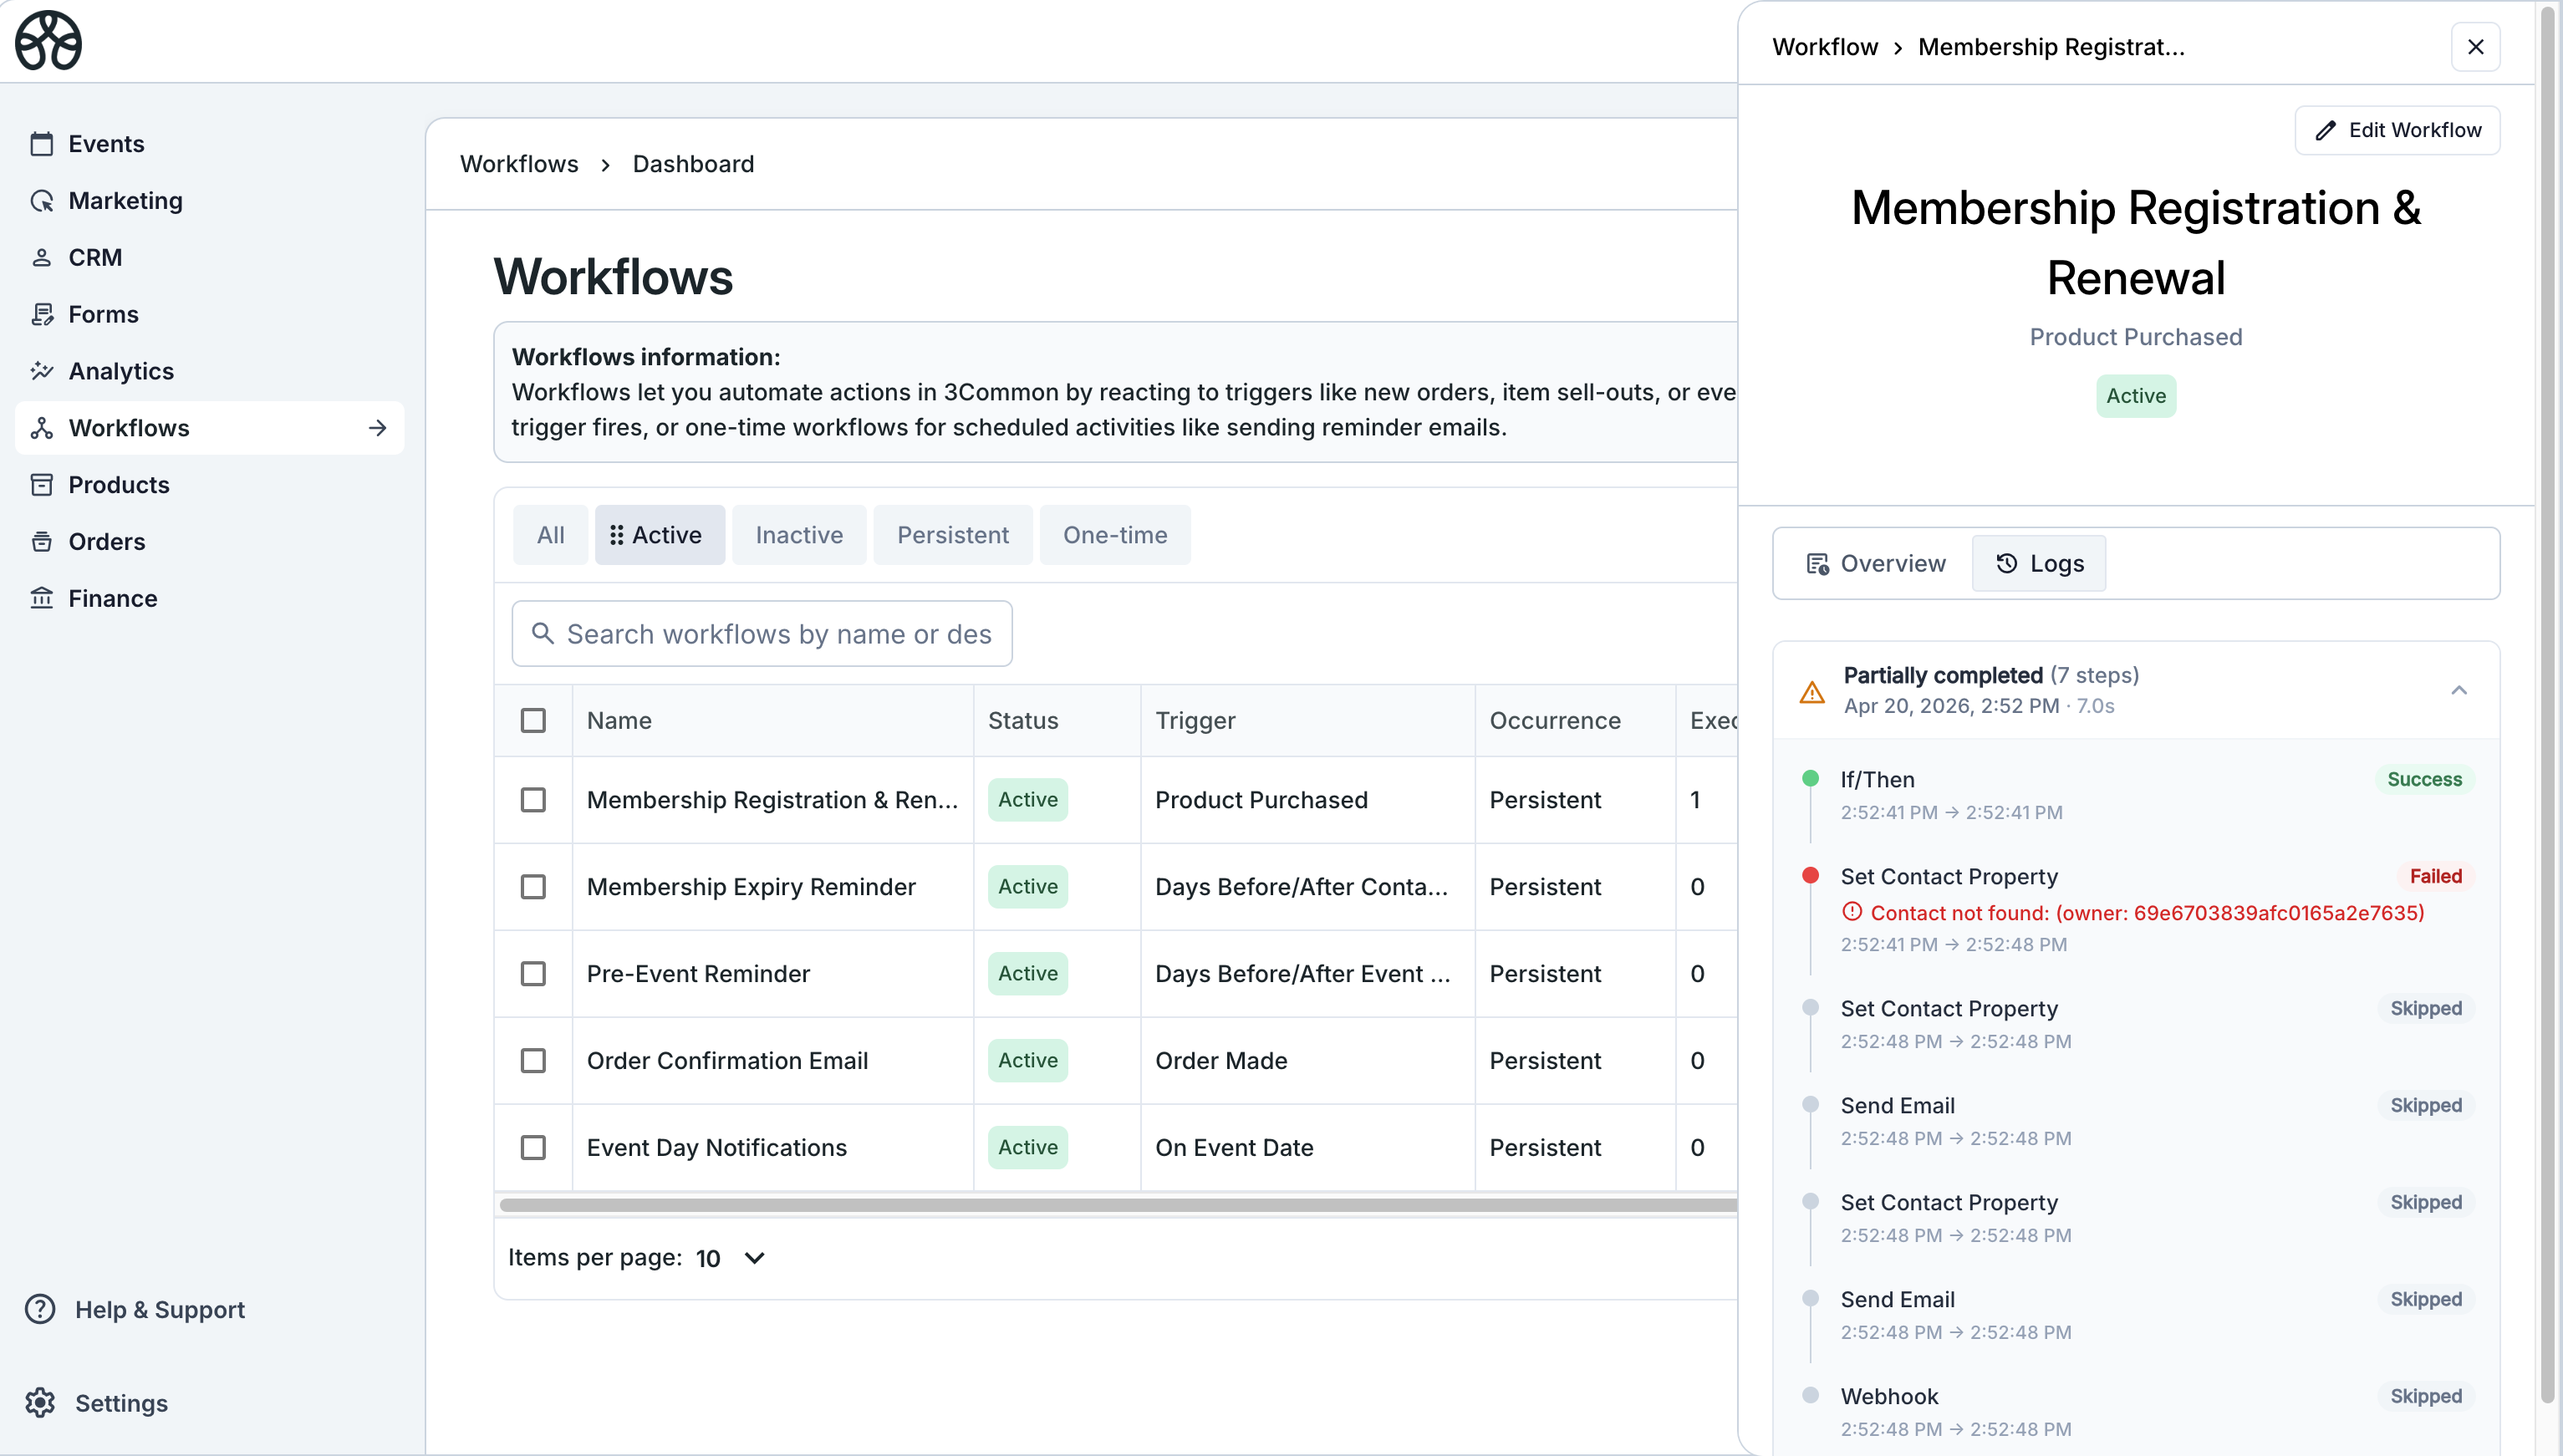
Workflow logs
Every time a workflow runs, 3Common records an execution log with step-by-step details:
- Which actions ran and which were skipped
- Whether each step succeeded or failed
- Error messages for failed steps
- Which branch was taken for conditional (If/Then) nodes
Access logs from the workflow's side peek under the Logs tab.